
Last updated: July 1, 2026
Flooding can strike unexpectedly, but with a little preparation your Eudore Aluminum Flood Plank System will be ready when you need it most. Taking these proactive steps now will minimize stress and maximize protection when severe weather hits.
Visually examine the caulking around the mounting posts:


Measure the exact opening size to the nearest 1/8". Leave enough room on either side for the posts, including depth and width, on your threshold or adjacent brick. For outward-swing doors, allow room for the door to clear the permanently installed posts.
You are measuring masonry to masonry; posts must be installed to concrete, cinderblock or a support beam able to handle the expected hydrostatic pressure.
Note: we calculate the plank size for each opening, allowing for insertion into the posts, so we only need the actual opening size.
Measure the actual opening size; posts sit outside the opening. We typically add a few inches of plank span on either side. If space is tight and you want posts mounted right at the opening edges, let us know. Measure brick to brick, outside the door frame.
If the door frame protrudes beyond the wall, the planks must clear it. You need just over 19 mm of clearance for planks to slot into the posts and tighten down. Planks span post-to-post over the protruding frame.
For outward-swing doors, consider mounting posts on the inside if the adjacent walls are concrete, cinderblock or brick, so you keep protection and can still open the door from inside.
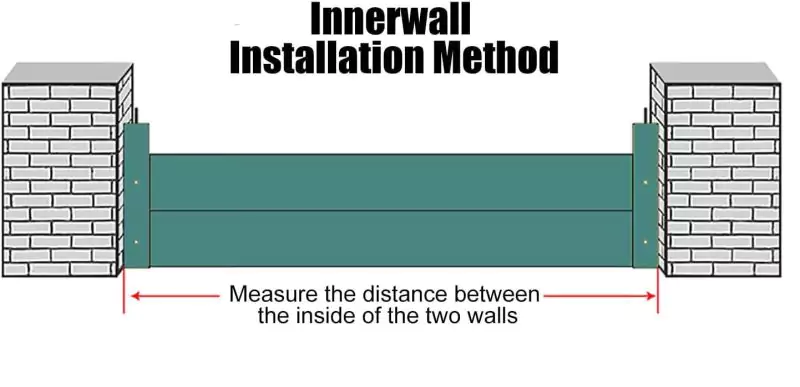
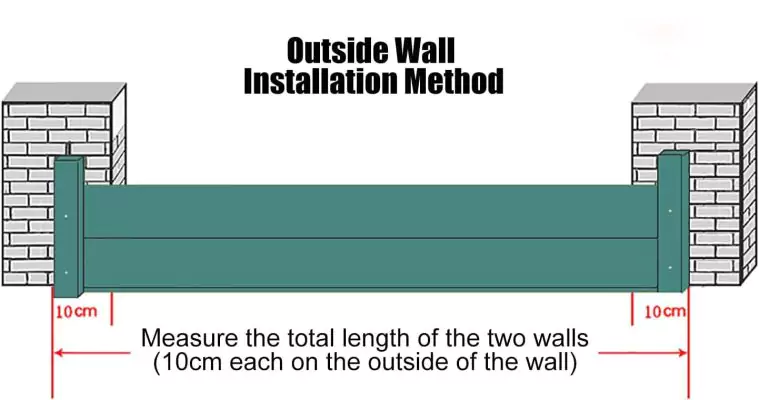
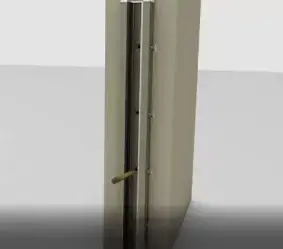
Align posts so the outside neoprene seal sits between the aluminum post and the opening frame. Position posts with the plank-tightening bolts facing outward toward the water, or toward the dry side if there is enough clearance to screw the bolts down from inside.
Drilling mounting holes: use a hammer drill through the pre-drilled guide hole in the post and into the wall / frame. The supplied expansion bolts are M12, so use a 12 mm bit. Anchor to cinderblock, masonry or concrete.
For questionable walls, such as old brick or cinderblock, consider double-expansion anchors; for hollow walls, use butterfly bolts. A smaller pilot hole can help ensure a snug fit.
Expansion bolts: insert the masonry sleeve and bolts into the drilled holes and tighten with a ratchet.
Urethane silicone: on the water side, add silicone at the base of the post and along the seams between post and wall. Apply silicone on the neoprene before pressing the post to the wall, seal all sides of the post base to the ground, and fill any gaps in brick, mortar or concrete.
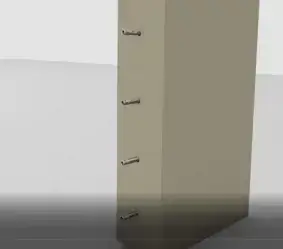
Position posts so the neoprene seal is between post and wall, with the mounting tabs against the wall. Tabs go on the side away from the opening. Viewed from the water side, the left post has tabs on the left and the right post has tabs on the right.
Drill with a 12 mm bit for the M12 bolts, anchor to cinderblock, masonry or concrete, and apply urethane silicone on both sides of the post, at the base, and along the post-to-wall seam. Fill any gaps in the brickwork or mortar with silicone.
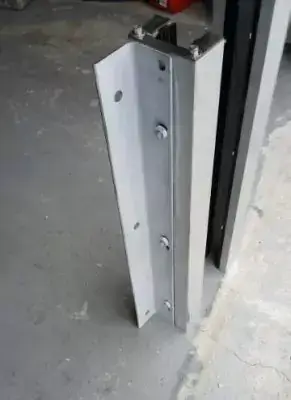
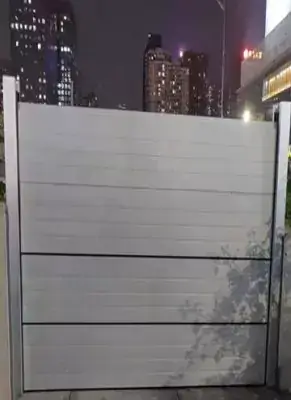
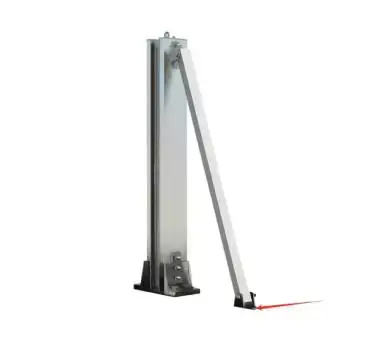

If you need to move the posts further from the wall, for example to clear door hardware or a door frame, use spacers. These can be recycled or treated lumber or steel extrusions, available in various sizes at most home-improvement stores.
Bolt the spacers to the wall with standard anchors, caulk around the edges to waterproof the connection, then mount the Eudore posts onto the spacers using the same method as a standard wall.
Posts can be made removable using drop-in anchor bolts: the threaded sleeves stay in the wall while the posts are removed and reinstalled ahead of a flood. Confirm a good seal between post, neoprene and wall at each installation.
Insert the drop-in anchor into the drilled hole, open side up. Use a setting tool struck with a hammer until the tool lip meets the anchor rim, locking the threaded sleeve permanently. Remove the tool, then bolt the post base into the anchors and tighten.
Cut into existing concrete to a depth and size that fits the base plate, its welded bolt receivers and the bolt protrusions. Pour concrete around the base plate, fully enclosing it.
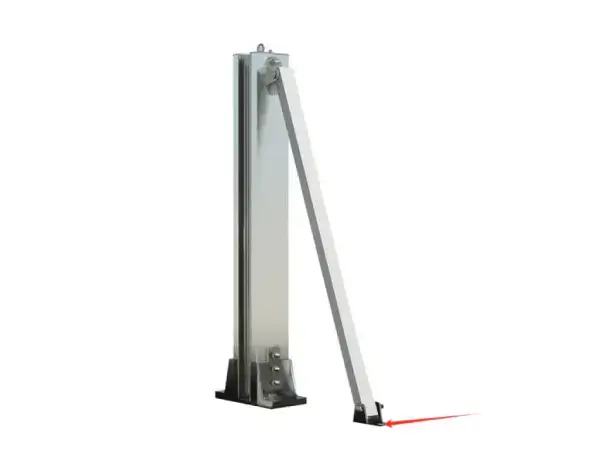
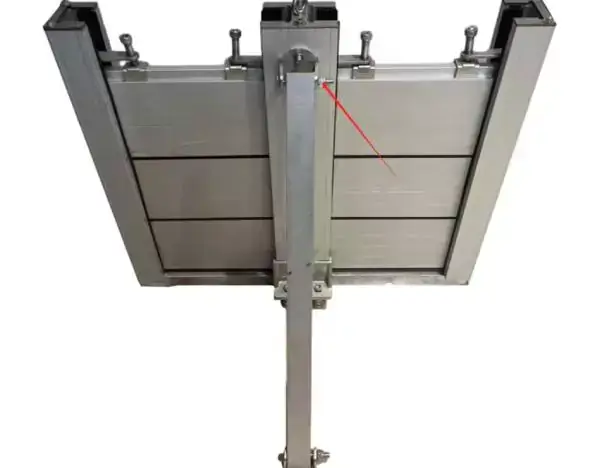
If the ground is sand, soil or other soft, uneven material, use the floor-trough accessory:
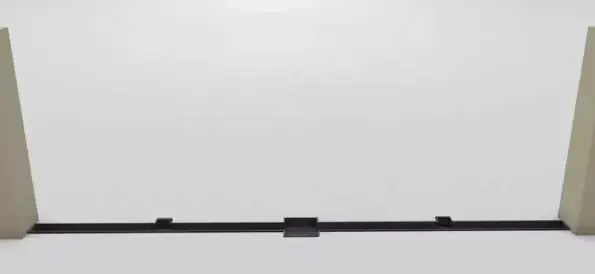
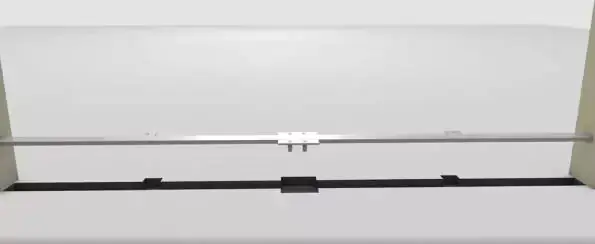
A level, smooth surface gives the best seal between the Eudore bottom rail and the ground. Where the subsurface is pavers in sand, gravel or dirt, add a concrete footer under the bottom rail.
The footer should span the entire barrier width, including the U-channel posts, and butt right up against your structure. If placed between two walls, abut both to create a secure seal.
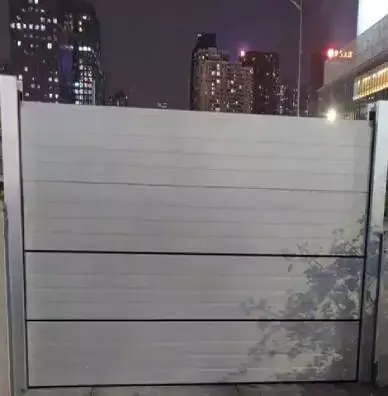
Slot the aluminum planks into the post channels when a flood is expected. First loosen all plank-tightening bolts in the posts so planks insert freely, and slide out the post top tightening plate to access the U-channel.
Identify the bottom plank, which has a larger seal for uneven ground, slide it into the channel until it reaches the floor, then stack the remaining planks. Place the plank with safety tape on top for visibility in low light, or order without top safety tape if you prefer.
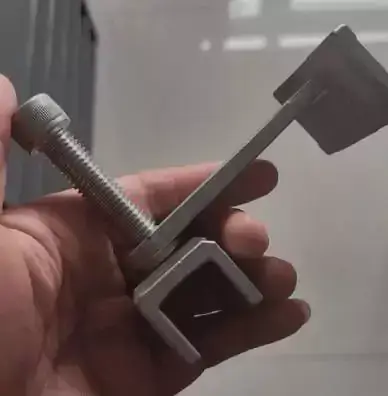
With all planks slotted in, use your foot to nudge the stack against the back seal inside the posts to start the sealing process. Insert the top locking plate into the notch at the top of the post and use the included Allen wrench to tighten the planks, enhancing the seal between planks and the floor.
A level, smooth, debris-free surface is critical to a proper ground seal. As an added precaution you may apply a removable seal such as “Seal and Peel” at the bottom of each plank and where it meets the post.
We calculate the correct plank size from your opening measurements. You only need to send the actual opening dimensions and a few photos.
For a custom recommendation, see Get a Sample, our 15-Year Warranty, and Shipping & Delivery.